I have always been the kind of person who makes lists. Lots and lots of lists. Our house renovation had reached the point of more little projects than big ones, and I have had a very difficult time focusing my attention on one thing long enough to get it completed. I thought it would be a good idea for me to break down what's left to do by each room. Then it would be a matter of me taking it one room at a time, and then someday onto the exterior. The list probably is short on some things, but it is at least a starting point.
First was the cedar closet by our front door. It used to partially open into our attic, which happens to be quite full of brown recluses and red wasp. Neither of which you would want to find while putting on your coat. Last week my mother-in-law lined the closet with cedar (sealing it off from the attic). Today we got the rod hung, coats put on hangers and put in the closet. All it lacks is a battery light and a shoe rack in the bottom. Also there is lots of storage above the coats but at this point I don't have anything that needs to go up there.

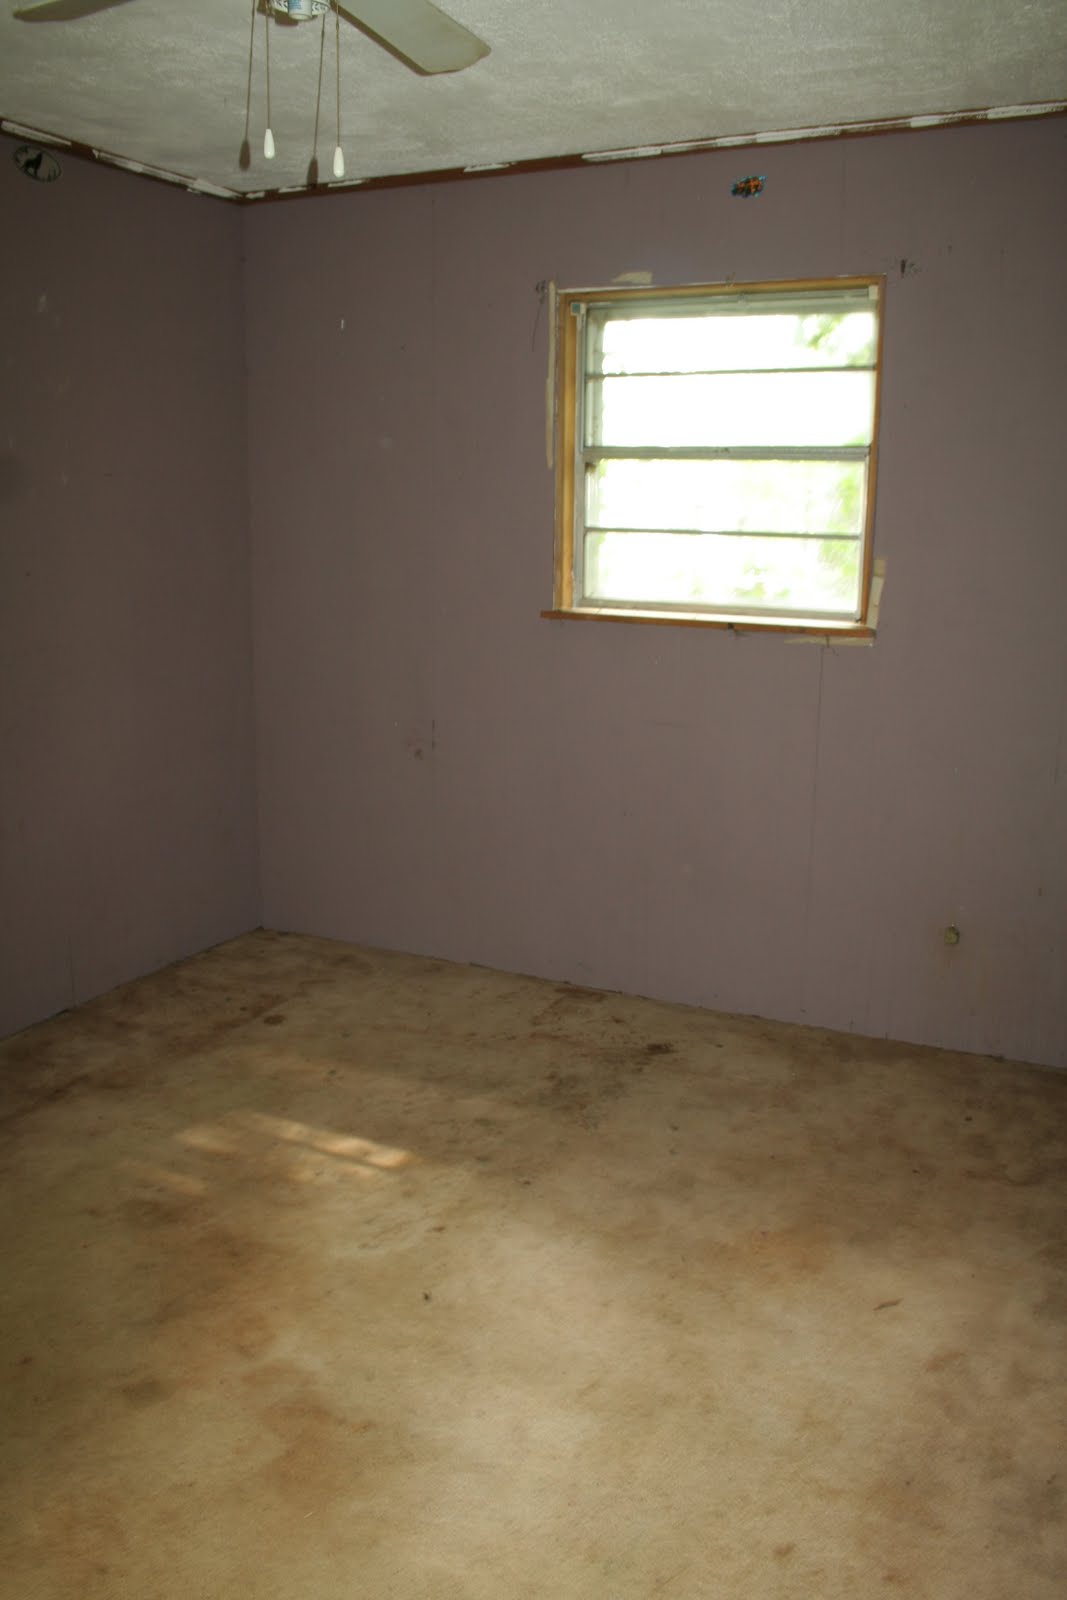
So this is the list I made for Matt and me to reference when we wonder what we should work on next. We have a copy of it on our fridge and all of Matt's jobs are highlighted blue, which are greatly fewer than the non-highlighted items. After the closet, we're moving onto the second bedroom. The ceiling is up and the floors are down, the walls are just quite unfinished.
CEDAR CLOSET
BUY BATTERY LIGHT
BUY SHELF FOR SHOES AT BOTTOM
SECOND BEDROOM
MUD BEDROOM
SAND BEDROOM
MUD CLOSET
SAND CLOSET
PRIME WALLS
PAINT WALLS GREEN
SEMI-GLOSS PATTERN ON WALL
PAINT CEILING
INSTAL FAN
MAKE CURTAINS-DOTS
HALLWAY
MUD HALLWAY
SAND HALLWAY
PRIME HALLWAY
DRAW 5’ CHAIR RAIL LINE
PAINT CEILING
PAINT BELOW CHAIR RAIL
HANG WALLPAPER ABOVE CHAIR RAIL
FIND LIGHT FIXTURE
INSTAL LIGHT FIXTURE
ENTRY ROOM
BUILD BENCH
ADD TRIM AROUND BAR
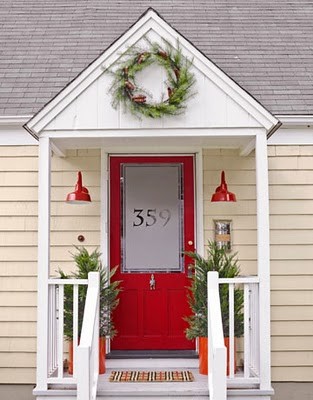
PAINT FRONT DOOR
SPRAY PAINT UMBRELLA STAND
SOMEDAY BUILD TABLE
KITCHEN
SAND AND PAINT GLASS DOORS
GET GLASS CUT FOR DOORS
HANG GLASS DOORS
PAINT BACK DOOR
SAND AND MUD IN CLOSET
PAINT CLOSET
PUT UP SHELVES AND CLEANING STORAGE
BASE MOULDING
CAULK AROUND COUNTER TOP
PUT ON AIR VENT COVER
MAKE PLATE HOLDER FOR BLUE PLATES
GET BIG CONTAINERS FOR PET FOOD
FIND PERFECT DESK CHAIR
FIX CURTAIN BY STOVE
HANG SPICE SHELVES
DO A REAL RE-ORGANIZING
LIVING ROOM
BEAD BOARD DOORS ON BOOK CASE
TRIM AND BEAD BOARD ON WINDOW SEAT
36 X 36 PAINTING
PUT TRIM ON ARCH
CAULK AND PAINT ARCH TRIM
BUILD TV STAND
BOARD ACROSS BOOKSHELVES
ADD DESIGN TO LAMP SHADE
FIND LIGHTING FOR NEAR BOOKCASE
SAVE FOR AND BUY A RECLINER
THIRD BEDROOM
MUD CLOSET
SAND CLOSET
PRIME AND PAINT CLOSET
PUT IN TRUNK
ADD EASY CLOSE TO TRUNK
PUT FEET ON TRUNK
HANG CLOTHES ROD
PUT RED HANGERS IN CLOSET
MAKE HEADBOARD FROM DOOR
FIND SIDE TABLES
NEW WINDOW COVERINGS
ART OR PICTURES FOR WALLS
RUG FOR ROOM
CROWN AND BASE MOLDING
TRIM OUT WINDOW
LAUNDRY ROOM
CLEAN IT OUT
MUD WALLS AND CEILING
SAND MUD
PRIME AND PAINT
HANG CLOTHES BARS
PUT UP WALLMOUNT IRON BOARD
ORGANIZE AND DESIGN STORAGE
TRIM OUT WINDOW
MASTER BEDROOM
CUT OFF CORNERS OF RUGS
BUILD HEADBOARD
FIND PICTURES TO GO ABOVE BED
REDESIGN BEDSIDE TABLES
MAKE FOOTBOARD, OR BENCH
FIND 3X5 RUG FOR END OF BED
BASE MOLDING
BUY DUVET COVER
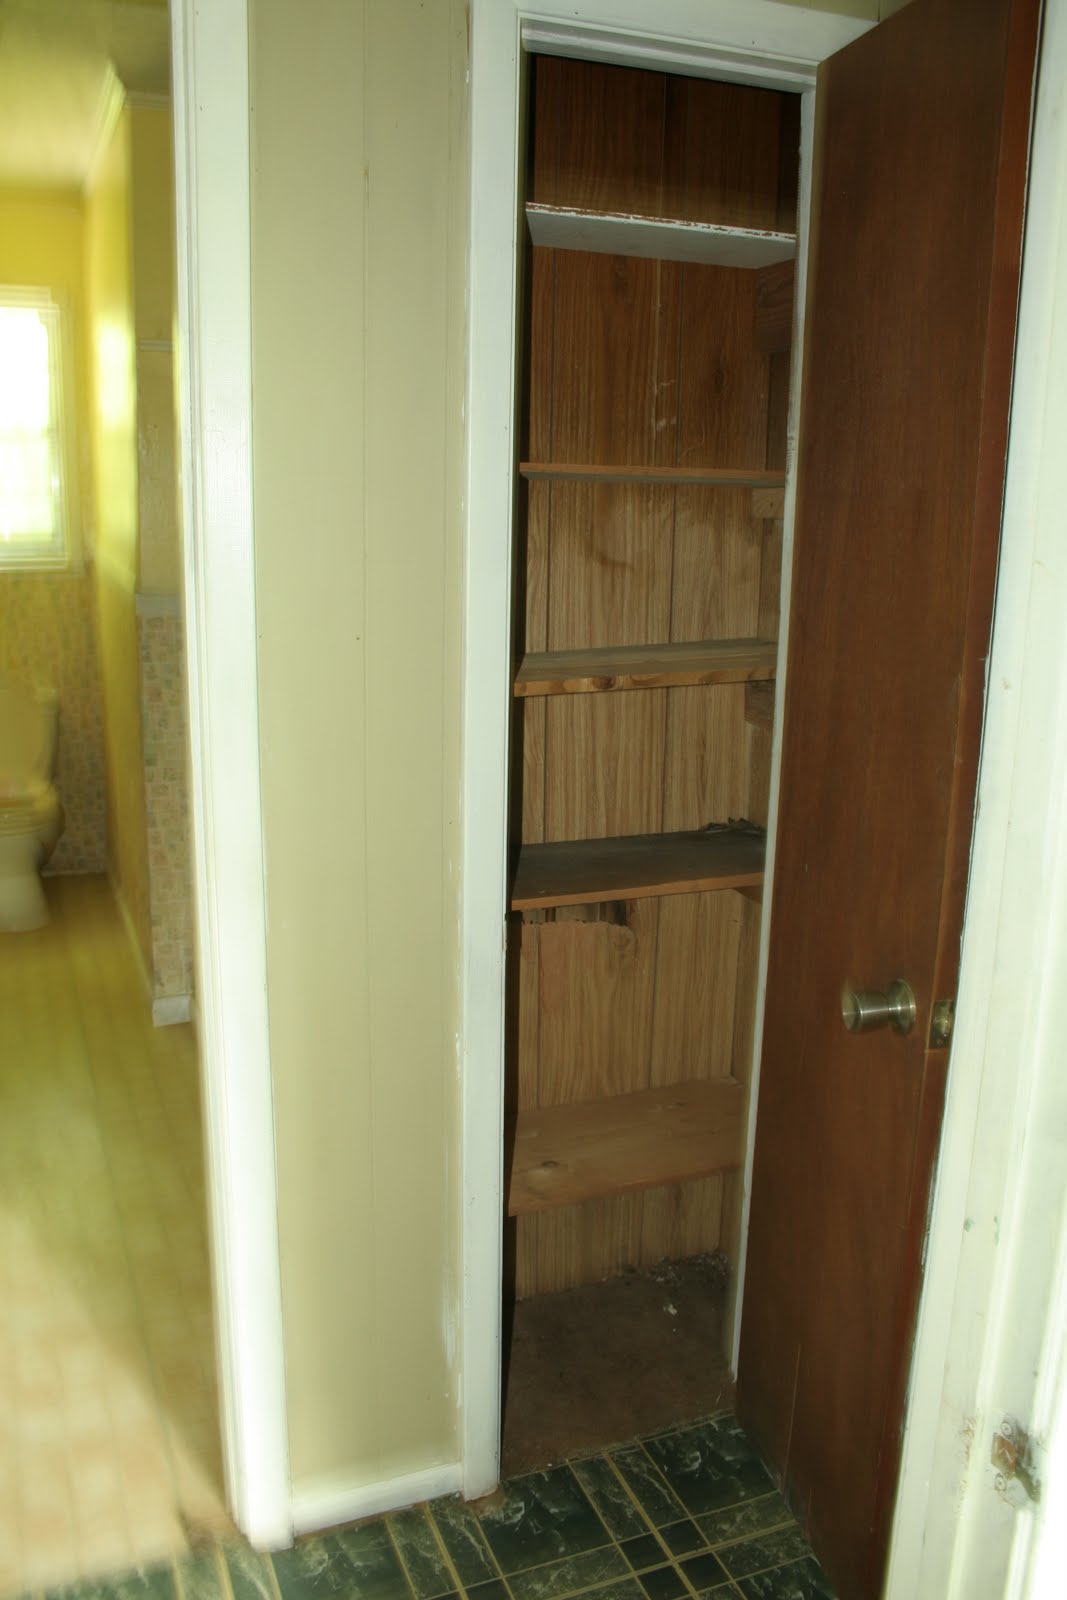
MASTER CLOSET
PATCH HOLES IN WALLS
PAINT CEILING
PUT ON LIGHT COVER
PUT BOARD IN SIDE TO SEAL OFF CLOSET
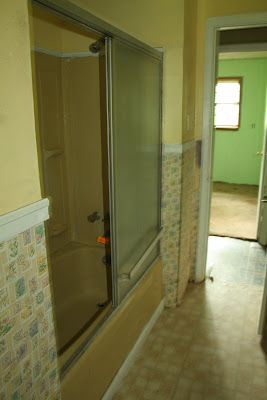
MASTER BATH
HANG L BRACKETS
CUT WOOD FOR SHELFS
STAIN WOOD
ATTACH WOOD TO SHELVES
PAINT CEILING
PUT ON VENT COVER
SCRAPE TILE
FILL IN MISSING GROUT
TOUCH UP AROUND CHAIR RAIL
HANG TOWEL HOOK
PATCH HOLES IN WALL
CLEAN SHOWER
CLEAN AND RESEAL TILE
FINISH OFF EDGE OF TILE


 The opening into the living room will be closed up and have our refrigerator put in it. All of the cabinets and walls come down for us to design from scratch.


